Getting Started
For your first time with Shoebot, you can try out the included code editor by
running shoebot in your terminal.
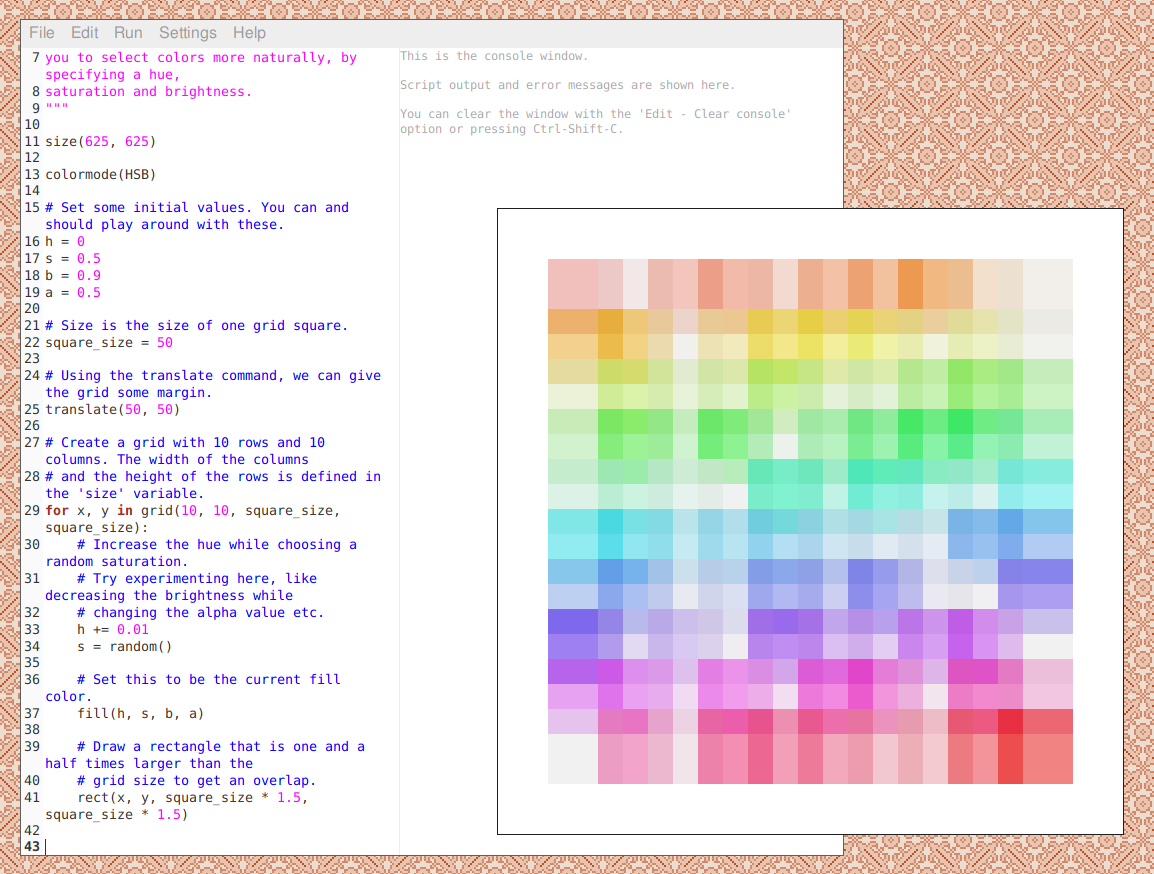
Open one of the example scripts and Run it through the Run -> Run script menu
option or the Ctrl-R keyboard shortcut. A window should open with an image
or animation.
You can now start editing the code and re-running to see the new outcome. Changing values on example scripts is a great way to understand how things work.
The Shoebot code editor is however rather limited. We recommend trying out Atom with the Shoebot extension for a more powerful and customizable coding environment.
Running in the console
If you prefer using your own text editor to edit files and just want something
to run the scripts, the sbot command is what you want. Head over to the
examples/ directory and try running:
sbot grid/balls.bot
By default, Shoebot will open a window with the result. But we can also
output directly to a file with the -o option, short for --outputfile.
Supported formats are SVG, PNG, PDF and PS.
sbot grid/balls.bot -o balls.svg
There are many features available in the console runner that aren’t accessible in the Shoebot or Atom editors, so be sure to take a look at the Command line flags section.
Exporting video
The Atom extension has a right-click option to save to
video, but you can also do this in the command line with the
sbot-export-video script, which generates an image sequence and runs
ffmpeg to put everything into an MP4 file.
sbot-video-export animation/wishyworm.bot -o worm.mp4 -f 150
The -f option (short for --framenumber) specifies the number of frames
to render; the default value is 300, or 10 seconds in 30 FPS.
In the future, this feature will become part of the sbot command line
runner.